Studio Notes: Six Small Experiments to Photograph Everyday Objects Consistently
Question
How can you, in a few focused weekend experiments, build a simple, repeatable setup to photograph small objects with consistent results—without buying expensive gear?
Process
Each experiment below is short (30–90 minutes) and asks you to change only one variable. Use the same object—a mug, a vase, a small plant—across all experiments so you can compare results. Keep notes: what you changed, what you liked, and one thing to try next time.
Experiment 1 — Find One Light
Intent: Decide whether natural window light or a single lamp suits your taste.
- Materials: small object, tripod or steady table surface, window and/or desk lamp, plain wall.
- Steps: Photograph the object near a north- or east-facing window, then move it under a single desk lamp. Keep camera settings (or phone exposure) similar. Try front, side, and back lighting positions.
- Observe: Which light gives the texture and mood you prefer? Is one easier to control? Note shadow quality and highlights.
Experiment 2 — Make a Background System
Intent: Build a small, consistent backdrop that’s easy to swap.
- Materials: three sheets of paper or foam board in neutral tones (white, gray, warm beige), tape, a tabletop.
- Steps: Set up a rolled background (paper taped to vertical surface and laid onto table). Place your object in the same spot for each background and photograph from the same distance.
- Observe: Which color isolates the object best? How do shadows and color casts change? Choose one background to keep for later experiments.
Experiment 3 — Surface and Base
Intent: Explore how different surfaces affect feel and reflection.
- Materials: three surfaces (wood cutting board, matte tile or cloth, reflective metal or glossy paper).
- Steps: Place your chosen background behind each surface and shoot the object in the same position and light. Keep the camera at a consistent height.
- Observe: Does the surface add warmth or coolness? Is a reflection distracting or complementary? Pick a surface that supports the mood you like.
Experiment 4 — Simple Composition Rules
Intent: Practice composing quickly with a few reliable rules.
- Materials: object, chosen background and surface, camera/phone.
- Steps: Take three frames using different compositional approaches: centered and symmetrical; rule-of-thirds with space to one side; low-angle close crop focusing on texture. Keep lighting constant.
- Observe: Which composition feels clearest and most intentional? Which draws attention to the object’s interesting detail?
Experiment 5 — Depth and Focus
Intent: Learn to control depth of field to separate the subject from the background.
- Materials: camera with aperture control or phone with portrait/depth mode, tripod if possible.
- Steps: From the same position, photograph at widest aperture (shallow depth), medium aperture, and small aperture (deep depth). If using a phone, use portrait mode and then regular mode while adjusting distance.
- Observe: How does background blur change perception of the object? Which depth supports the story you want to tell?
Experiment 6 — One-Minute Edit
Intent: Make quick, consistent edits that finish your photo without fuss.
- Materials: selection of your favorite frames from previous experiments, basic editing app (phone or desktop).
- Steps: Develop a short edit routine—crop, adjust exposure +20/−20, correct white balance, subtle contrast or clarity, and a light crop if needed. Apply the same recipe to three similar images.
- Observe: Which adjustments consistently improve your images? Which changes feel unnecessary?
Review
After these experiments you should have: one preferred light source, a go-to background, a surface that supports your subject, two or three composition templates, a depth-of-field strategy, and a short edit recipe. Taken together, these decisions form a compact system you can repeat whenever you want consistent results.
Practical notes from the practice: keep a small kit—background paper, the chosen surface, and a clamp or tape—to reproduce your setup quickly. Use a phone or inexpensive tripod; consistency matters more than gear. Keep your notes with the images (a simple notebook or a note on the image file) so you remember which variables you used.
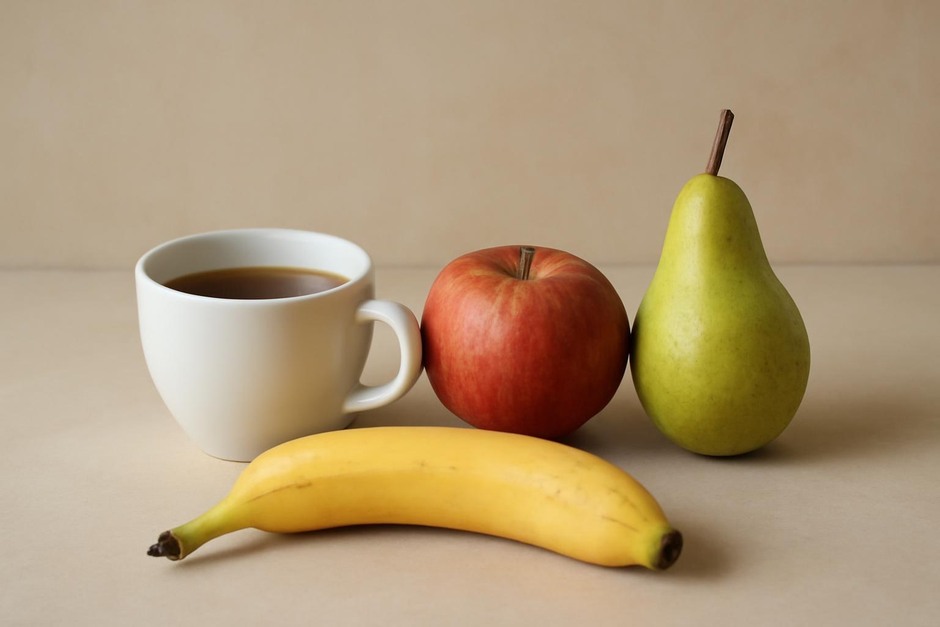
Next steps: try the same sequence with different subjects (textured fruit, ceramic, a small plant) to see which parts of the system adapt well and which need tweaking. Over a few weekends you’ll find a reliable, repeatable approach that feels like your visual signature—learned through tiny, deliberate experiments rather than a single big leap.
Final thought: The point of these experiments is not perfect pictures the first time, but to build a small repertoire of choices you can make by habit. That habit is the real skill.